
Editing pipes
Selecting several objects
Many tools (properties, change height, generate 3D …) work on several pipes or parts at once. The dialog that follows changes all of them together.
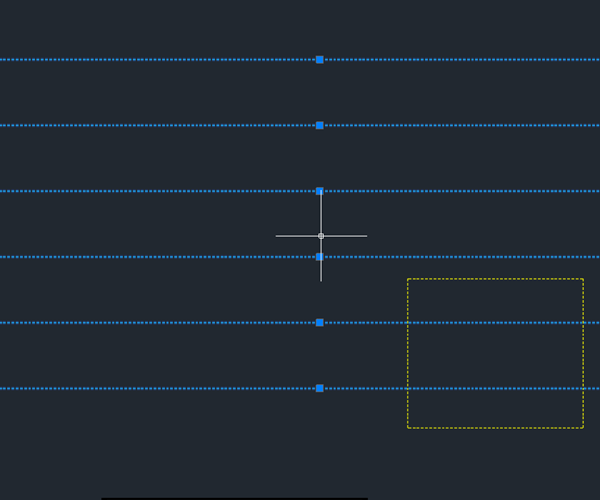
- Click the first object (1). Each further click adds an object; clicking a selected one deselects it.
- Shift + click (2) selects everything on the way from the last selected object to this one – a whole run in one go.
- Click next to the objects and drag a rectangle (3) to select everything inside.
- Enter = finish, then the dialog for all selected objects appears. Esc = cancel.
Moving pipes
Pipes are moved across their direction – the connected pipes are shortened or extended, and inserted parts move along.
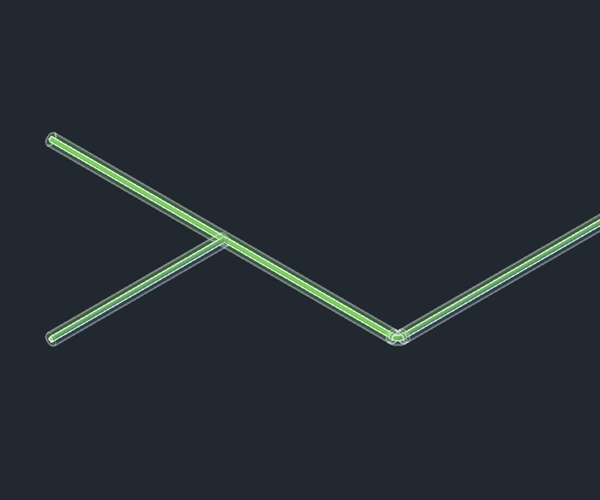
- Click Move (Tools page) and click the pipe (1), more with further clicks or a rectangle; Enter = selection finished.
- Click the new position (2). The Space key switches the reference pipe, G frees the direction, A types a distance or a wall distance.
- If a valve or a custom component sits in the pipe, the whole straight run moves along. A part clicked on its own slides along its pipe.
- Esc = cancel, nothing is moved.
Stretching a pipe (accordion)
Drag a corner, a branch or the end of a pipe – the pipes stretch like an accordion and the angles stay.
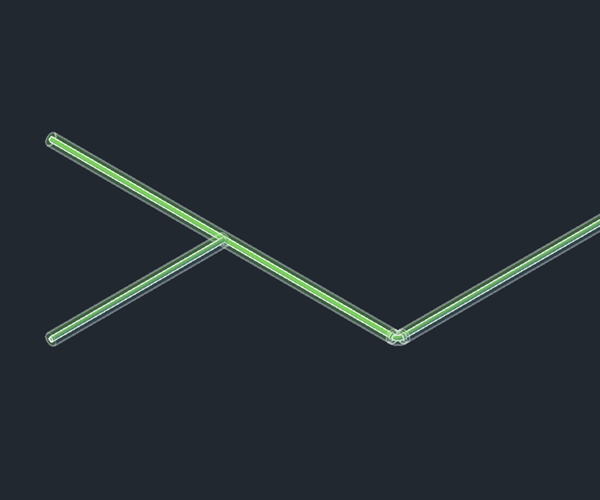
- Click Stretch (Pipe page) and click a point of the pipe (1): corner (elbow), branch (tee) or pipe end.
- Click the new position (2). L = along the pipe, Q = across, H = vertical, A = type a dimension.
- G switches between stretch (angles stay) and only the point (angles change) – then only if the catalog has the new elbow or tee; otherwise a notice tells you why.
- Click the next point right away. Enter = finish, Esc = discard this step.