
Quick start: the first fixture
This page shows the shortest way to a lavatory against the wall – with cold and hot water and a drain, ready for Piping 3D and Drainage 3D – and the most common changes afterwards. Each step has a picture; the details are in the linked tasks.
1. Open the palette and choose 3D
Ribbon › LuaCAD tab › Block Library. The palette opens at the edge of the drawing.
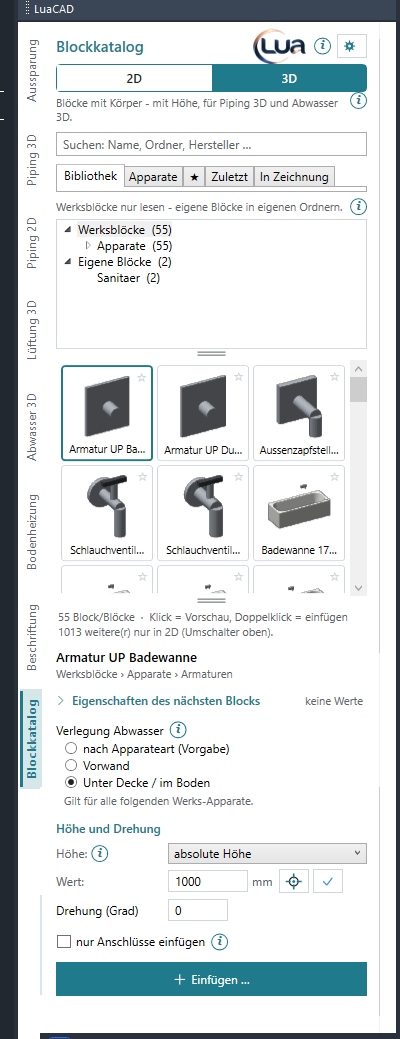
- At the top, set the switch to 3D – then you see the blocks with solids, and the lavatory goes into the drawing with its connectors at its elevation.
- If you only need a floor plan for Piping 2D, choose 2D – the steps stay the same, only the elevation is not needed.
2. Choose the fixture
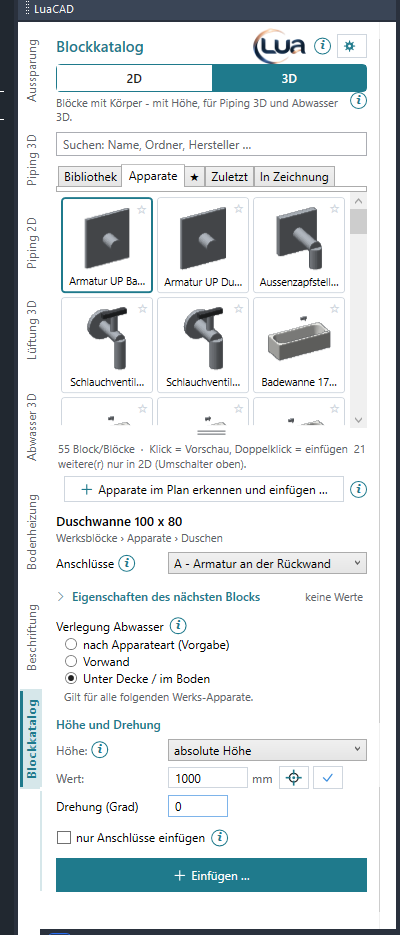
- Click the Fixtures tab.
- Click the tile of a lavatory – it appears in the preview window next to the palette and below as the selected block. Searching at the top works too.
- Under Elevation choose "from level", then the level, Distance from FF (finished floor) and the value 0 – the lavatory stands on the finished floor. A standard fixture has its insertion point on the floor; it brings its own connector elevations.
- Leave Rotation at 0 – it is aligned to the wall in a moment.
3. Insert: the fixture hangs at the cursor
Picture coming soonPlan view, test drawing: the lavatory hangs at the cursor by its insertion point (center of the back at the wall) (1), below it the action bar with Spacebar, A, R, D, W, M (2)
- Click Insert … (or double-click the tile). The first time, a window with a picture explains the keys at the cursor.
- The lavatory hangs at the cursor by its insertion point – for standard fixtures the center of the back at the wall.
- The Space shows the other base points (corners, midpoints, connectors) to click – handy for a corner.
4. Align it to the wall and place it
Picture coming soonPlan view: with W two points clicked along the wall (1) and (2), the room lies to the left of the direction; the lavatory is parallel to the wall (3)
- Press W and click two points along the wall – so that the room lies to the left of the direction. The lavatory turns parallel to the wall, its front faces the room.
- Click the insertion point onto the wall (object snap helps). The lavatory is inserted; the next one already hangs at the cursor.
- Enter or Esc ends – the inserted fixtures stay.
5. Look at the result
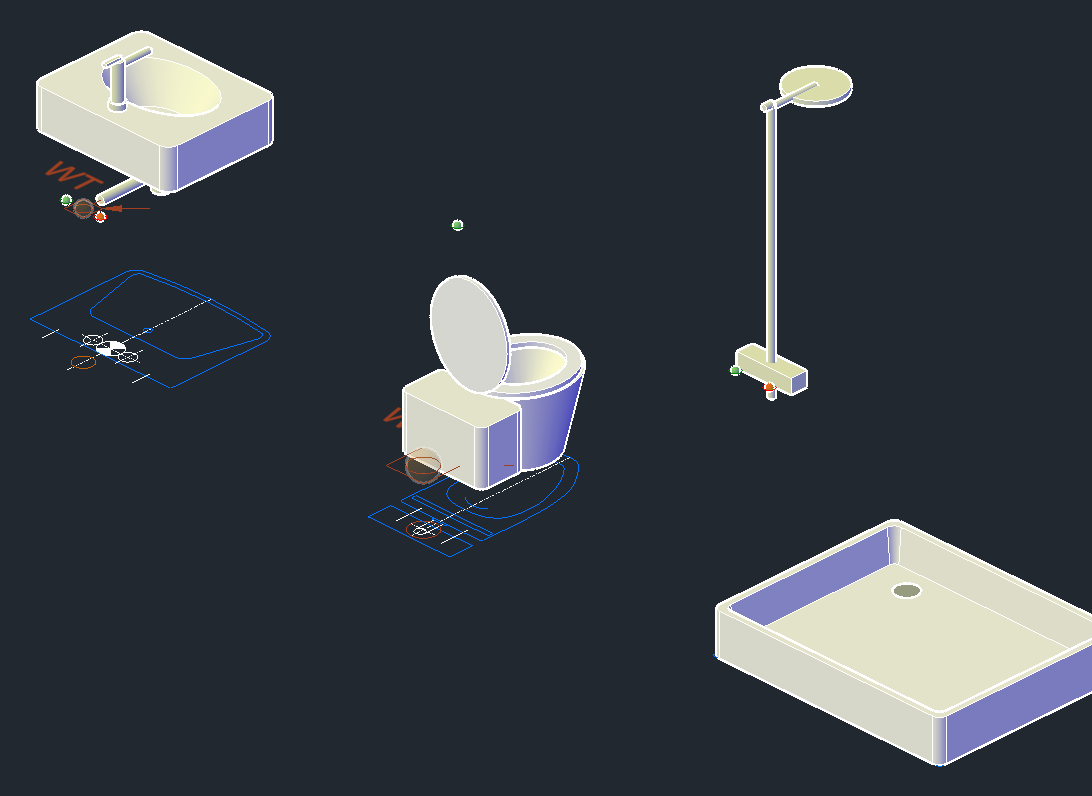
- Switch to an isometric view, for example with the ViewCube.
- The lavatory carries its connectors: cold water on the right, hot water on the left (seen from the front) and the drain. A Piping 3D run that starts at a water connector takes over system and nominal size; Drainage 3D connects to the drain.
- The Current Drawing page now lists it.
6. Simple editing
Picture coming soonThe Properties palette with the selected lavatory: LuaCAD category with width, depth, height, distance CW–HW, water connector elevation, display, connector set (1), below them the property fields (2)
- Move, rotate, copy, delete with the commands of GstarCAD – the connectors move along, a copy gets its own.
- Mirror (MIRROR of GstarCAD or M already at the cursor): shape and drain are mirrored, cold water stays on the right, hot water on the left.
- Change values: click the fixture and in the Properties palette change width, depth, height, the distance between the water connectors, their elevation or the display in the LuaCAD category; the property fields (room, description …) are below.
Change several blocks at once on the Current Drawing page – see Changing several at once.
What next?
Video coming soon: The first fixture
- Only the connectors of a fixture the architect has already drawn: Inserting connectors only.
- All fixtures of a floor plan at once: Detecting fixtures in the plan and inserting them.
- Your own blocks: Adding your own folders and Creating a custom block.
- Esc cancels inserting; another button in the palette cancels the running command and starts the new one. A U undoes the last inserted block – each block is its own undo step.