
Flexible ducts
Inserting a flexible duct
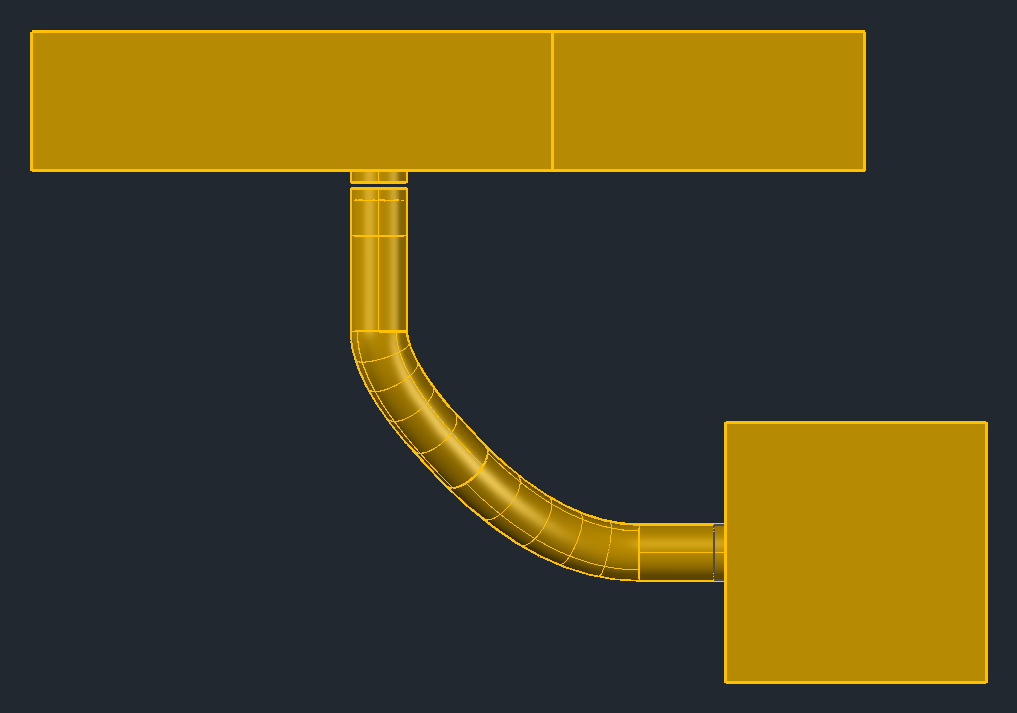
Goal: draw a flexible duct from the main duct to an outlet – it follows your clicks as a smooth curve and connects at open round connectors.
- Flexible ducts page: choose the type (aluminum or plastic) and the diameter; system, insulation (aluminum only) and elevation below.
- Click Insert. Click the start (1): at an open round connector the duct connects (F holds it) and takes over diameter and system; otherwise it starts freely.
- Click vertices (2) – the duct bends smoothly between them. The Backspace takes back the last point.
- At a second open connector (3) the duct ends and is connected.
- Enter or Esc ends the duct at the last point; the next one starts right away.
Keys at the cursor
| Key | Effect |
|---|---|
| A | the Draw flexible duct dialog box: elevation of the next points, elevation change, clicks on a side or the centerline, segment length |
| F | hold at the connector or release |
| ← / → / ↓ | the clicks lie on the left or right side of the duct, ↓ = on the centerline (only with a free start) |
| Space | snap to angle or free |
| W / D | pick the angle increment / type the base direction |
| Backspace | take back the last vertex |
The Draw flexible duct dialog box (A)
| Setting | Effect |
|---|---|
| Elevation of the next points | absolute or from level, with pick |
| Elevation change | 1 point – sloped up to the next point; 2 points – a new elevation immediately places a point vertically above or below the last one, the duct rises vertically there and then continues horizontally |
| Clicks lie on | left side, centerline or right side – the duct centerline lies half the diameter beside the click (only with a free start; at a connector the centerline is fixed) |
| Segment length | a fixed length of the next segments (point to point) – the mouse only gives the direction; empty = free |
Editing vertices
Goal: insert, delete, move or change the elevation of a vertex of an existing flexible duct.
| Button (under Vertices) | Steps |
|---|---|
| Insert vertex | Click the duct, click the green marker of the segment (1), drag the new point and click. |
| Delete | Click the duct, click the red point (3). The points at a connector stay. |
| Move | Click the duct, click a point, drag and click. |
| Change elevation | Click the duct, click a point, enter the elevation (reference: the justification of the duct). |
While dragging, X and Y or H lock the movement to an axis, the Space snaps to an axis, A types a distance. Points at a connector stay fixed (they move only along its axis). Enter = finish, Esc = cancel.
Editing segments
Goal: extend a flexible duct, or move or raise the piece between two points.
A segment is the piece between two vertices.
| Button (under Segments) | Steps |
|---|---|
| Add | Click the duct, click the open end and continue point by point – at an open connector it ends there. |
| Move | Click the duct, click the middle of the segment, drag – both points move along. |
| Change elevation | Click the duct, click the middle of the segment, enter the elevation – both points get it. |
Join and Flatten
Goal: turn two flexible ducts that meet into one, or bring all points of a flexible duct to one elevation.
- Join and click the orange marker at the joint of the two ducts – they become one duct.
- Flatten: click the flexible duct (1 of 2), click one of its points (2 of 2) and enter the elevation – the elevation of that point is proposed. All free points get it; points at connectors stay.
You change the values of a whole flexible duct (type, diameter, system, insulation, elevation) with Query properties: a new elevation there raises or lowers the whole duct.