
Quick start
Five steps from start-up to a first result. Each step links to the page with the details.
1. Start LuaCAD
After your CAD starts, the Welcome to LuaCAD window appears.
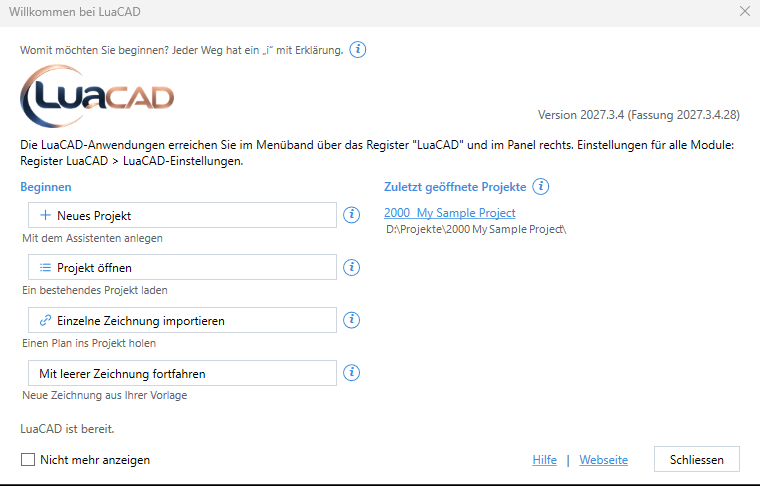
- To try things out: Continue with an empty drawing (4).
- For a real building: New project (1) – the project wizard creates all drawings.
2. Open a plug-in
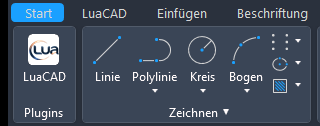

On the Home tab, the LuaCAD button at the far left takes you to the LuaCAD tab. There, a click on a plug-in (1) opens its palette – for example Piping 3D.
3. Get to know the palette
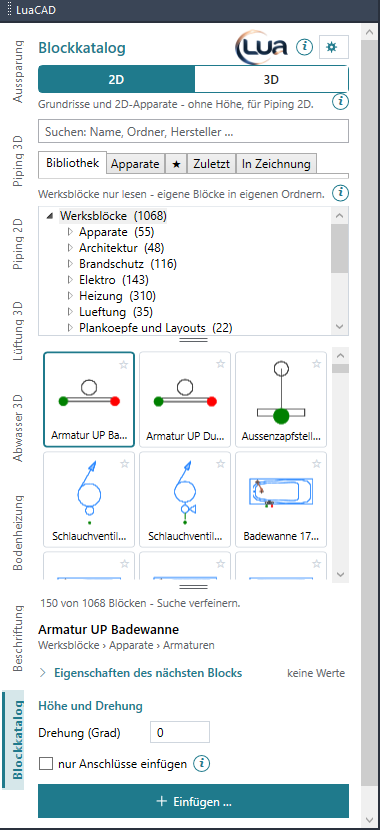
The palette sits at the edge of the drawing area. At the top are the pages of the plug-in (2), next to them the "i" (3), which explains the open page, and the gear menu (4) with settings and help. The first time you open a page, a Getting started card walks you through it field by field.
4. Insert something
Highlighted buttons insert something. For your first pipe:
- Pipe page: choose the system, catalog, nominal size and system elevation.
- Click Insert and click point by point into the drawing; Enter = finish.
- Click Generate 3D and select the pipe – pipes and elbows are created.
In detail with pictures: Quick start Piping 3D.
5. Use the action bar

While a function runs, the action bar at the cursor shows every key that currently applies – to press or to click. Enter = finish, Esc = cancel. The Help button opens the matching place in this help without ending the function.