
Quick start: your first pipe
This page shows the shortest way to a finished pipe in 3D and the three most common changes afterwards. Every step has a picture; the details are in the linked tasks.
1. Open the palette and choose the values
Ribbon › LuaCAD tab › Piping 3D. The palette opens at the edge of the drawing on the Pipe page.
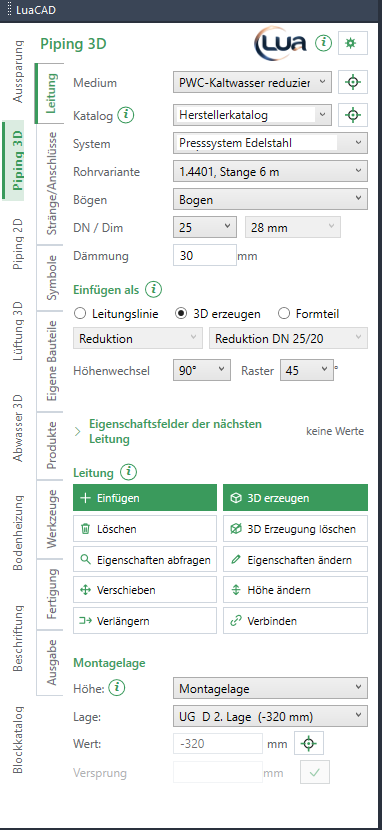
- Choose the system, for example cold water – it sets the color and the layer. Below it the catalog, product line and nominal size (DN), for example DN 20.
- Leave Insert as on "Routing Line" – that is the easiest way to start.
- System elevation: "from level", reference level FF (finished floor), value 1000 – the pipe lies 1 m above the finished floor. Confirm with Enter or the check mark.
- Click Insert.
2. Draw the pipe
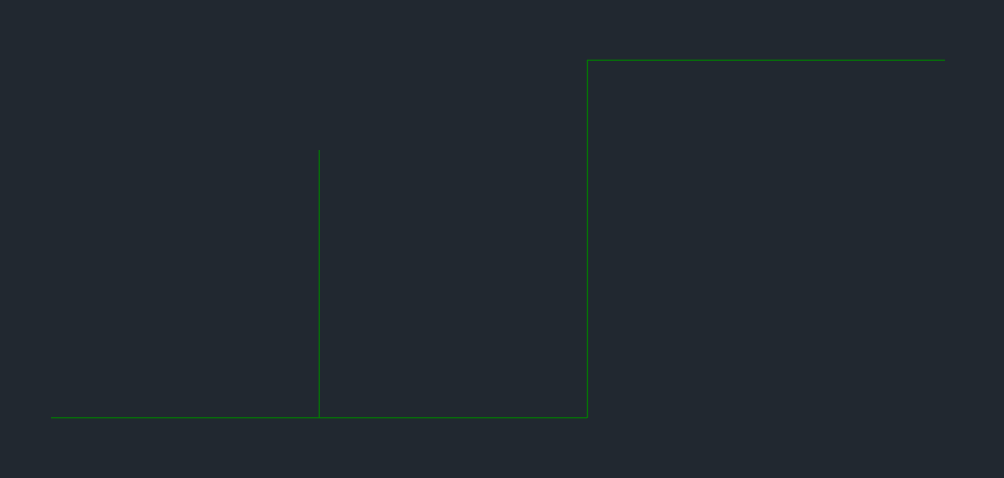
- Click the start in the drawing.
- Click the corners. The Space key switches between "snap to angle" (right angles, 45°) and "free".
- Finish with Enter. The routing line is created – the axis of the pipe in the color of the system.
3. Generate 3D
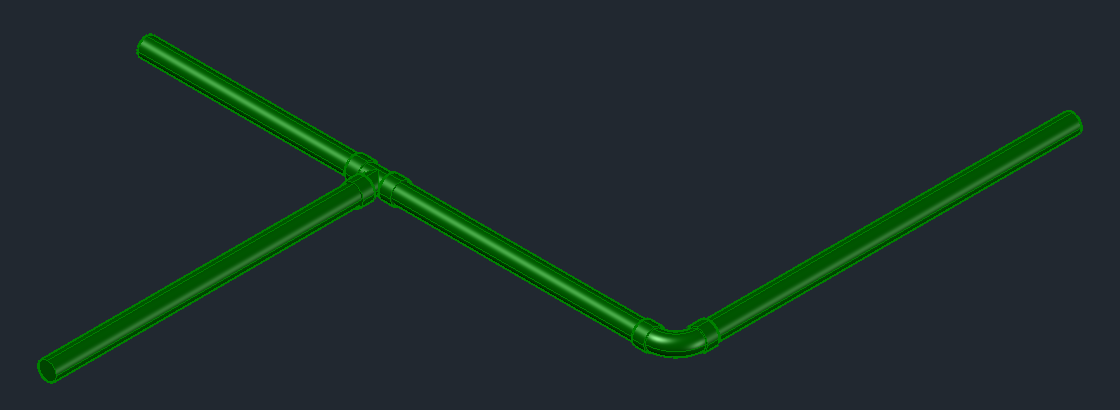
- Click Generate 3D (Pipe page).
- Click the pipe or drag a selection window over it; Enter.
- Pipes, elbows and tees are created from the catalog – with insulation if one is chosen.
The routing line stays hidden underneath the pipes: it is what you change later. The Basic concepts explain the difference between routing line, 3D and fitting.
4. Change it with a grip
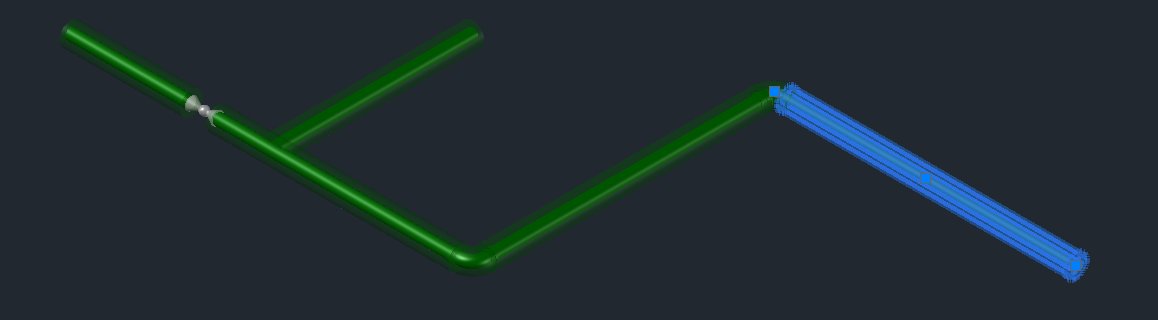
- Click the pipe (line or pipe) – grips appear at the start, middle and end.
- Click a grip, drag it to the new position and click. A free end moves only along the pipe, a corner moves freely, the middle grip moves the whole segment.
- The adjacent pipes and the 3D follow at the end of the command.
5. Move
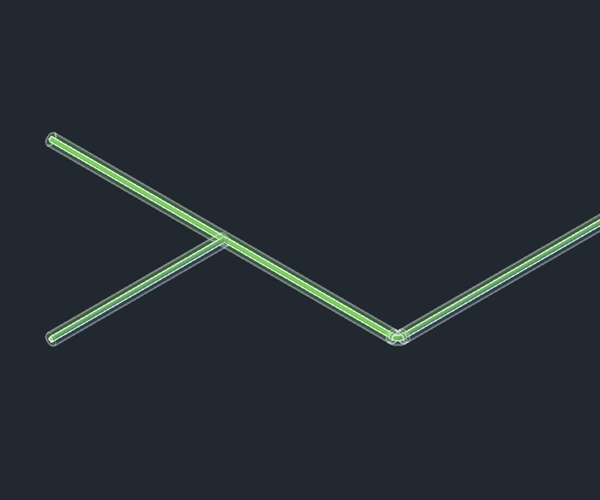
- Click Move (Pipe page) and click the pipe (1); Enter.
- Click the new position (2) – or press A and type a distance, for example 50.
- Connected pipes are shortened or extended, in-line valves move along.
If the pipe already has 3D, "Move" removes it when you select the pipe (the routing lines become visible again); afterwards click Generate 3D again. The grip from step 4 and the CAD command MOVE, on the other hand, update the 3D themselves. More under Moving pipes.
6. Change the elevation
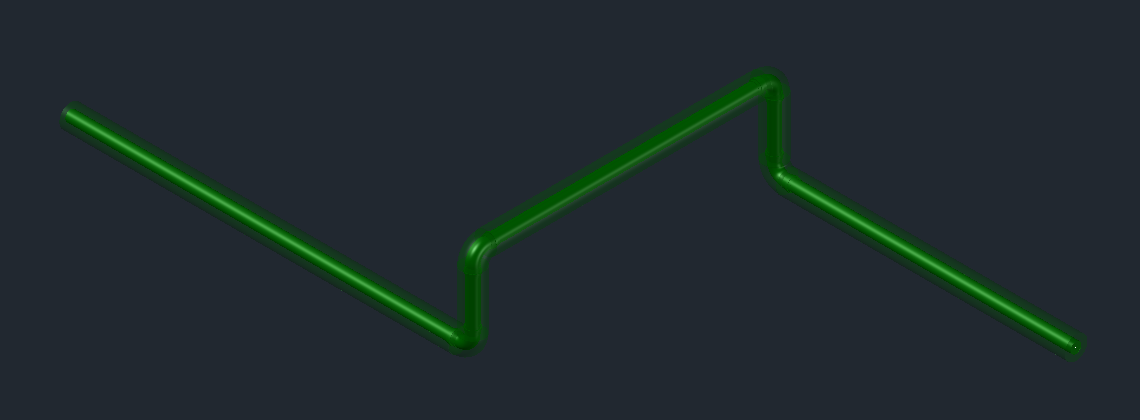
- Click Change elevation (Pipe page) and select the pipe; Enter.
- In the dialog box choose the new elevation, for example "from level", FF, 2400, and click OK.
- Vertical neighbors grow along. If the pipe had 3D, it is gone afterwards – Generate 3D creates it again at the new elevation.
More under Change elevation.
What next?
Video coming soon: Quick start Piping 3D
- Several pipes side by side (cold water, hot water, recirculation): Parallel pipes.
- Put a valve or a product into the pipe: Inserting a part in-line.
- Isometric and bill of materials: Isometric, Bill of materials.
- Esc cancels any function; another button on the palette cancels the running command and starts the new one. U undoes the last step.