
Openings step by step
The workflow
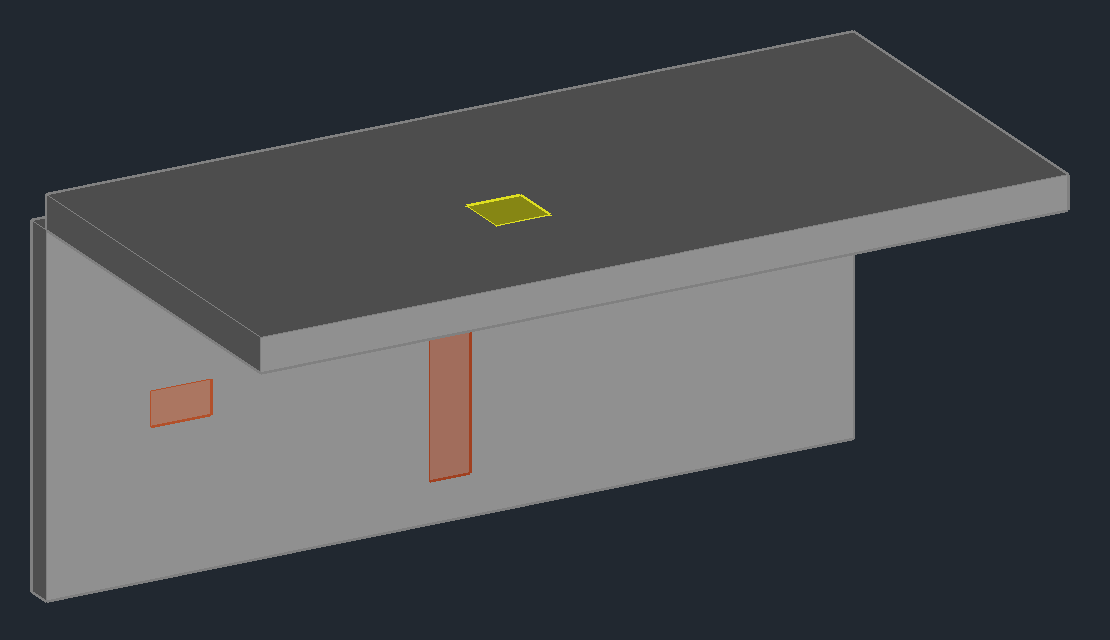
Goal: plan the openings for the pipes of the Piping 3D example - where the branch lines pass through the corridor wall into the shaft and where the risers go through the slab.
- Choose the template
- Pick the size from the pipes
- Insert the wall opening
- Insert the slab opening
- 2D and 3D as a pair
- Number and annotate
- The legend
1. Choose the template
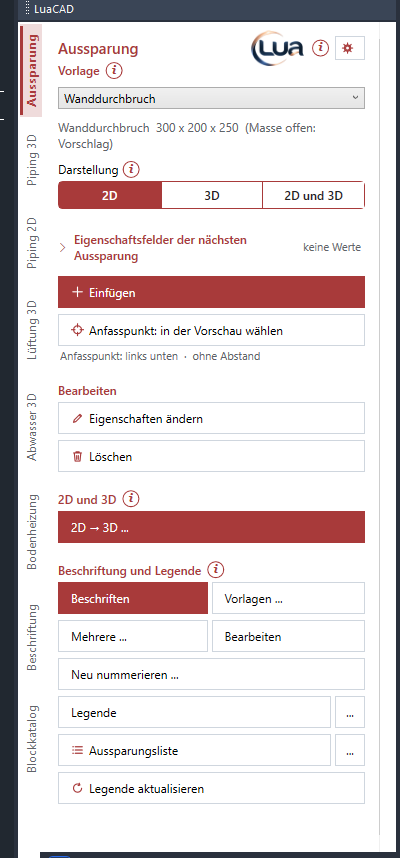
Choose the wall opening template in the Template list. A template carries type (wall opening, slab opening, wall chase, core hole), size, allowance and discipline. You create your own templates in the Templates dialog. More: Template.
2. Pick the size from the pipes
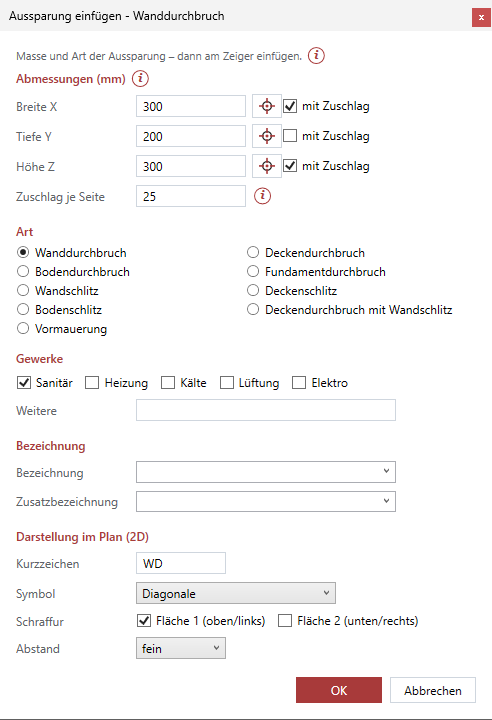
- Insert: the form opens.
- Next to width X use the crosshair: click the two branch lines at the corridor wall from outside to outside - LuaCAD takes over the size.
- Check with allowance and enter the allowance per side (for example 50 mm for insulation and installation).
3. Insert the wall opening
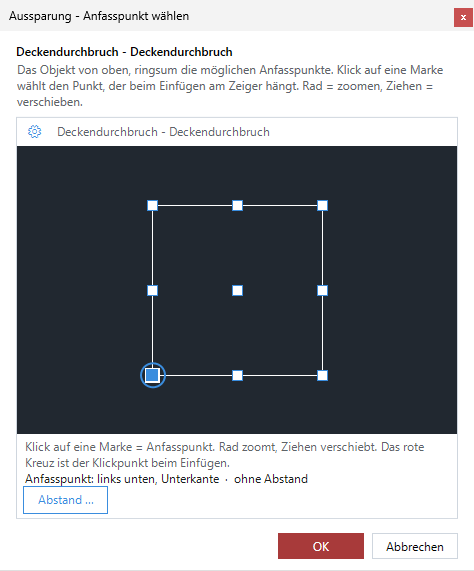
- OK in the form: the opening hangs at the cursor.
- Space changes the base point (for example center), A places it at a distance from a reference point.
- Click in the corridor wall at the branch lines.
More: Insert, Base point.
4. Insert the slab opening
Choose the slab opening template, pick the size at the risers in the shaft, insert it in the shaft. Set the height in the form (absolute or from the level). More: Height.
5. 2D and 3D as a pair
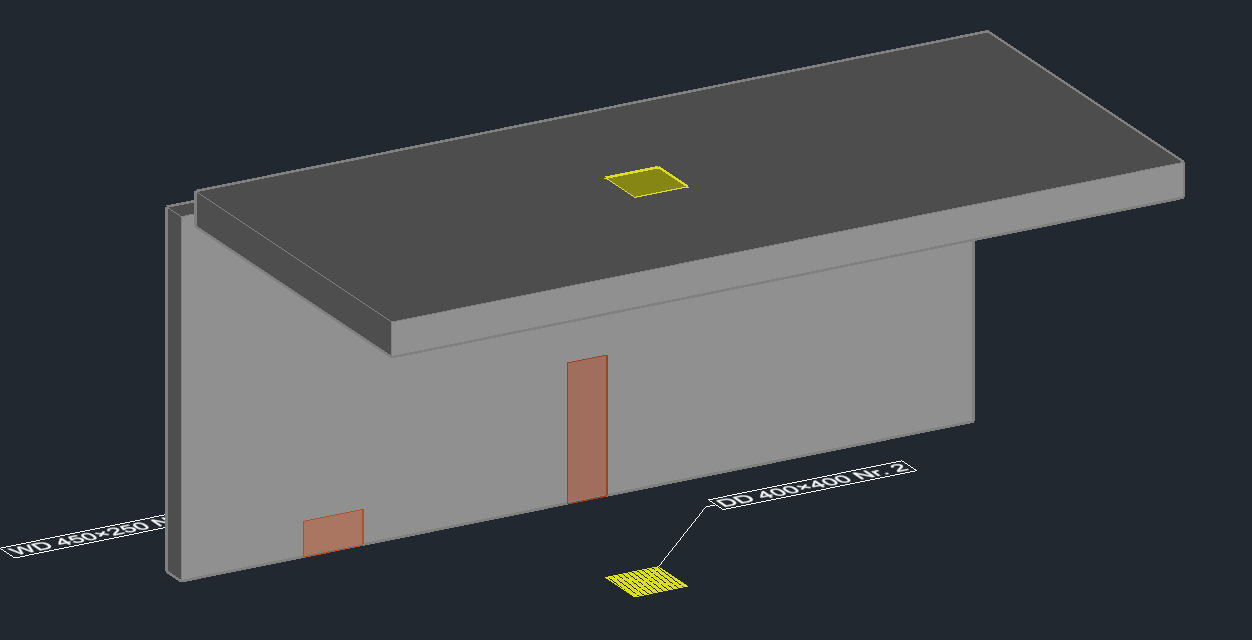
The plan symbol (2D) and the solid (3D) of an opening form a fixed pair - for example after converting the plan symbol to 3D. If you change, move or delete one side, the other follows; a copy has no partner. More: Pair, Convert.
6. Number and annotate
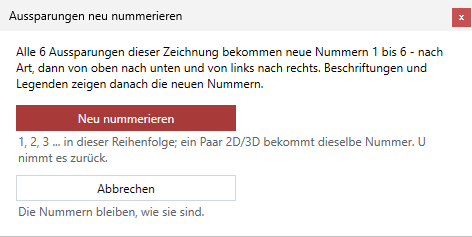
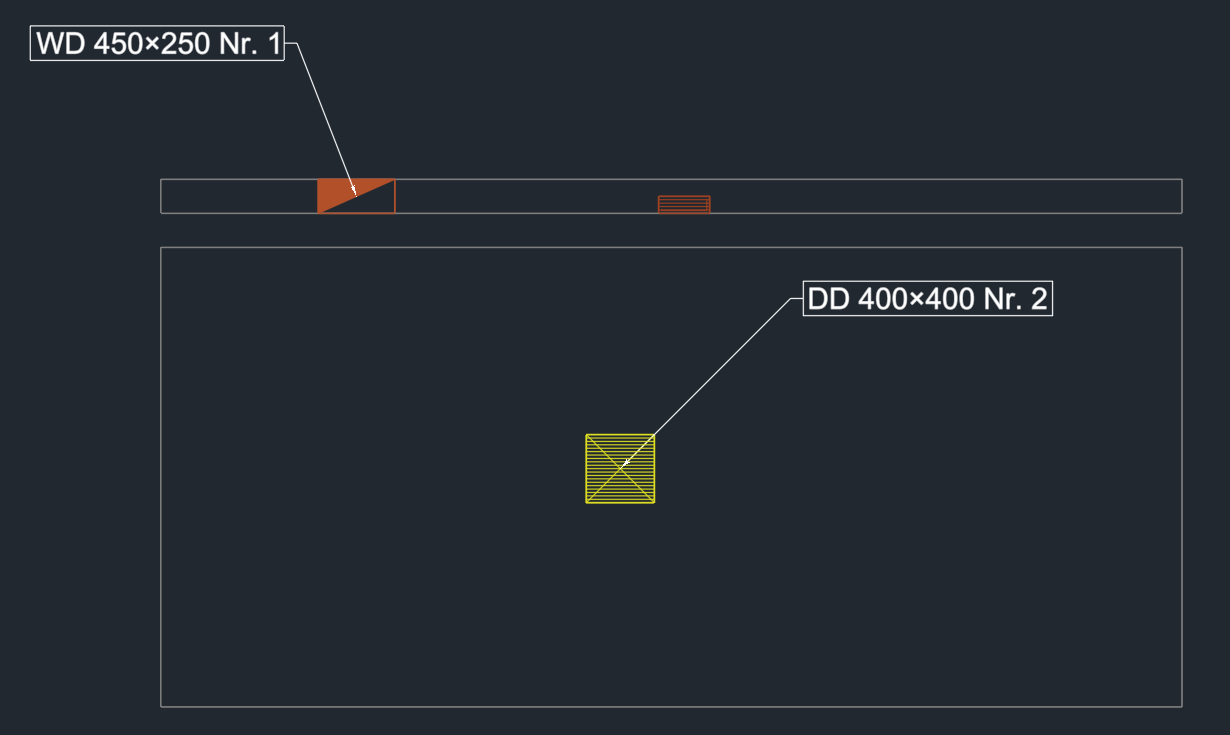
Every opening gets the next number when inserted. Renumber gives all openings new numbers - the question names count and order. Annotate with a template of the Openings folder (type, size, number). More: Number, Annotate.
7. The legend
Legend places the openings legend table in the plan: discipline, type, short name, size, count and numbers - equal openings in one row with the number range, for example "plumbing, wall opening, WD, 325 x 250, 2, 1-2". More: Legend.