
Floor Heating step by step
The workflow
Goal: plan the floor heating of a whole apartment of the sample project - from the floor plan to the bill of materials.
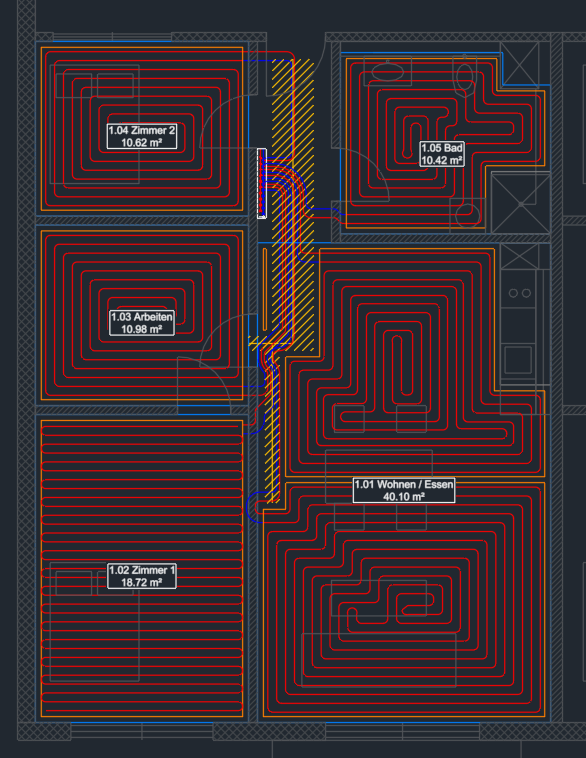
- Insert the rooms
- Exclusion areas and heated areas
- Lay the loops
- Insert the manifold in the corridor
- Lay the leader corridor through the doors
- Connect
- Cross and swap
- Annotation and list
1. Insert the rooms
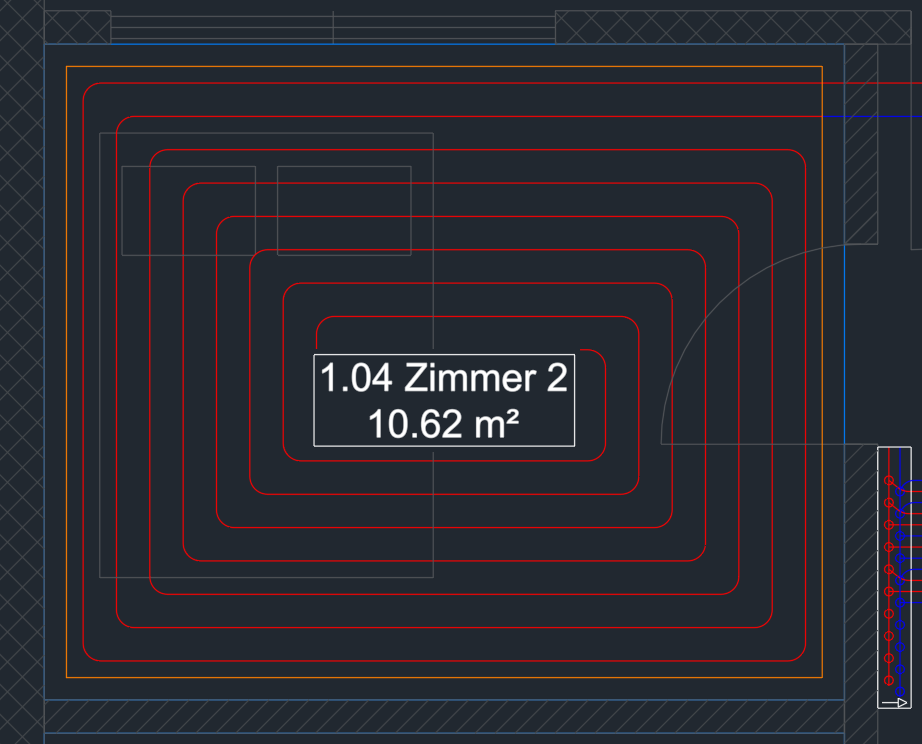
- Page Rooms: enter number (1.04) and name, room temperature 20 °C.
- Window: click the first and the opposite corner at the inner faces of the walls. For a polygon use Points.
- The room tag is placed in the middle automatically.
More: Rooms.
2. Exclusion areas and heated areas
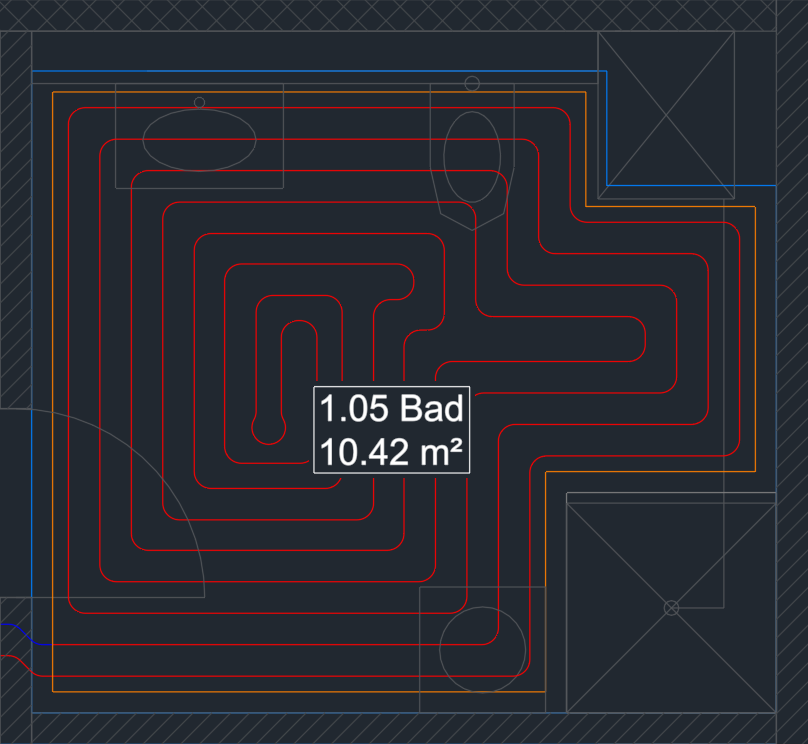
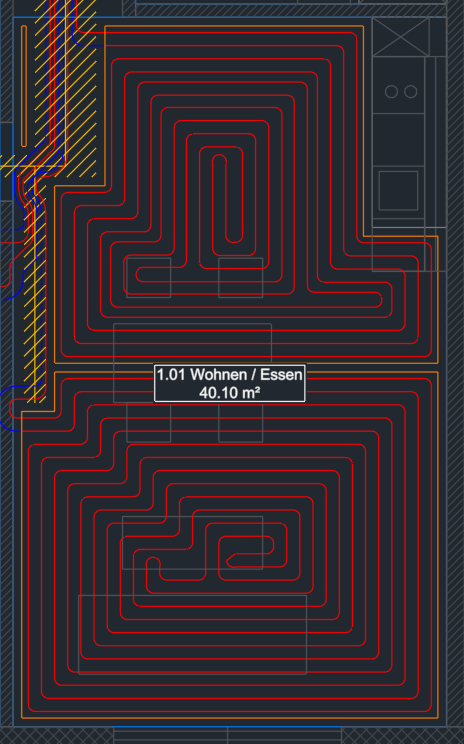
- Exclusion area (window) for everything without heating pipe: shower, kitchen unit, built-in cupboard.
- Create heated areas for all rooms: each area lies inside the room with the edge distance (factory 100 mm) and leaves out the exclusion areas.
- Divide large rooms: Divide area with two points - the joint remains between the areas.
More: Heated areas, Exclusion areas, Divide.
3. Lay the loops
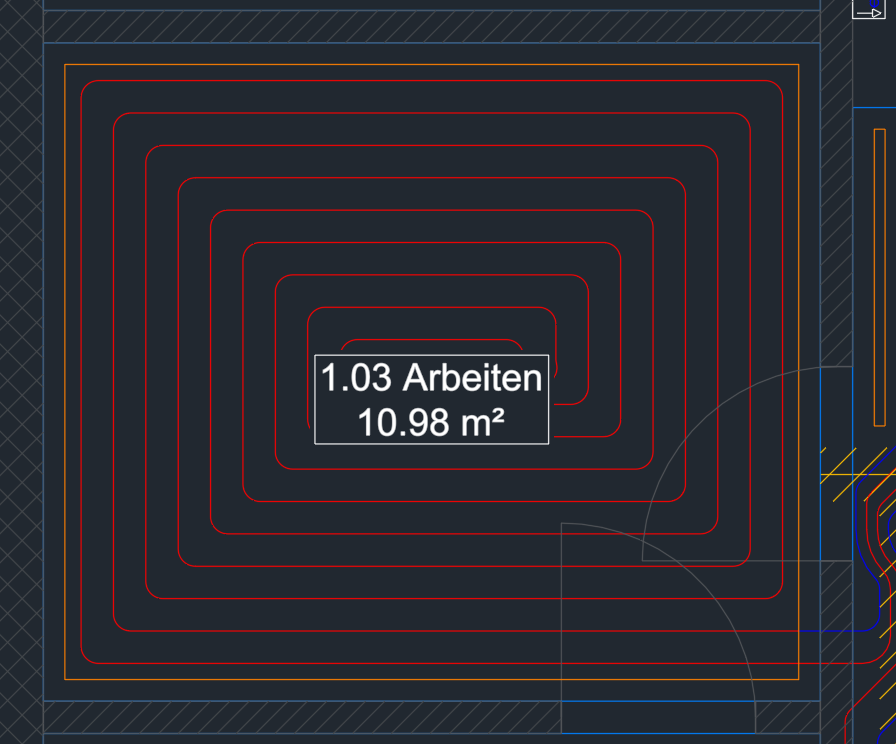
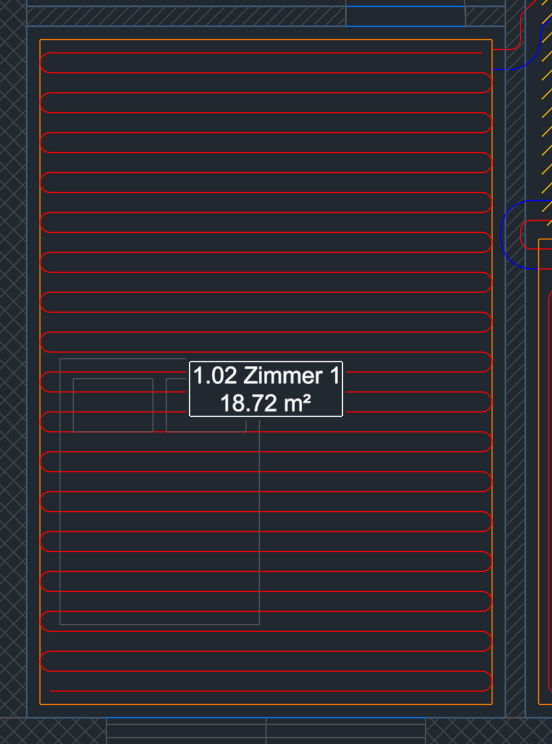
- Page Loops: pattern counterflow (evenly warm, standard for living rooms) or serpentine (warmer at the front - window walls), spacing 150 mm, pipe 16 x 2, maximum length.
- Lay loop and click into the heated area. The dialog before shows the same values.
- Put the connector point at the door: click Connector, then the point at the edge of the area next to the door.
4. Insert the manifold in the corridor
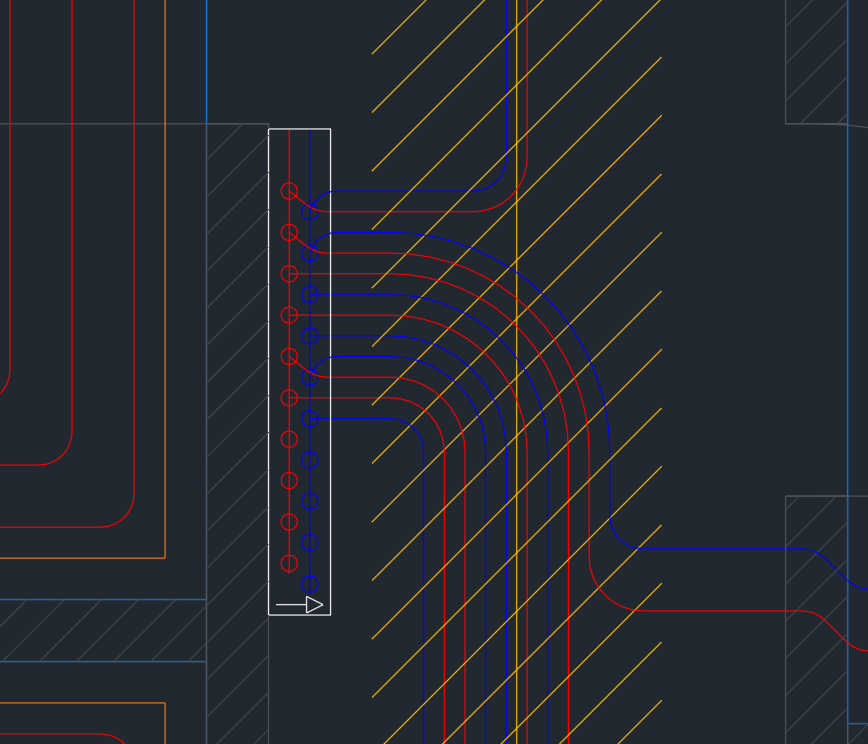
- Page Manifold: choose a template (number of outlets, box), Insert manifold, turn it with R so that the arrow points into the corridor, place it at the corridor wall.
- Assign: each loop gets the next free outlet (clockwise, left to right).
5. Lay the leader corridor through the doors
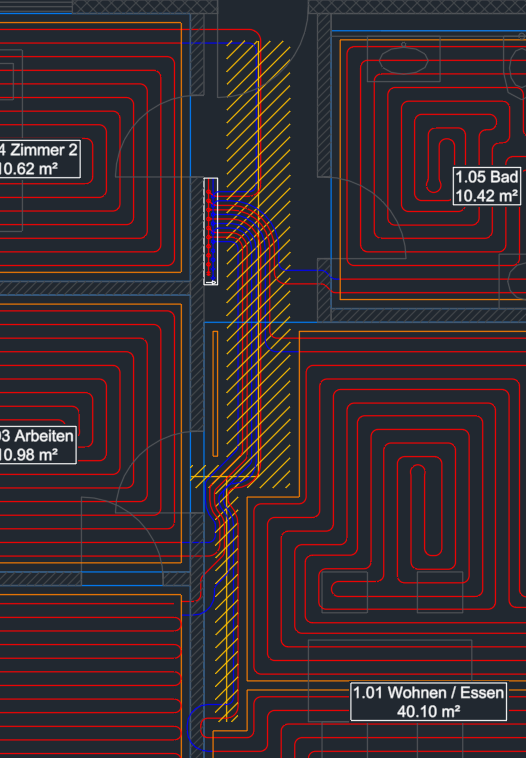
The leader corridor is the strip in which the leaders may run - in the corridor and through the doors into the rooms.
- Page Leaders > Insert leader corridor: enter the width (factory 500 mm; count about 50 mm per leader, 8 leaders = 450-500 mm).
- Draw along the corridor, Enter. Draw a branch from the corridor through every door into the room - at least just past the door.
More: Leader corridor.
6. Connect
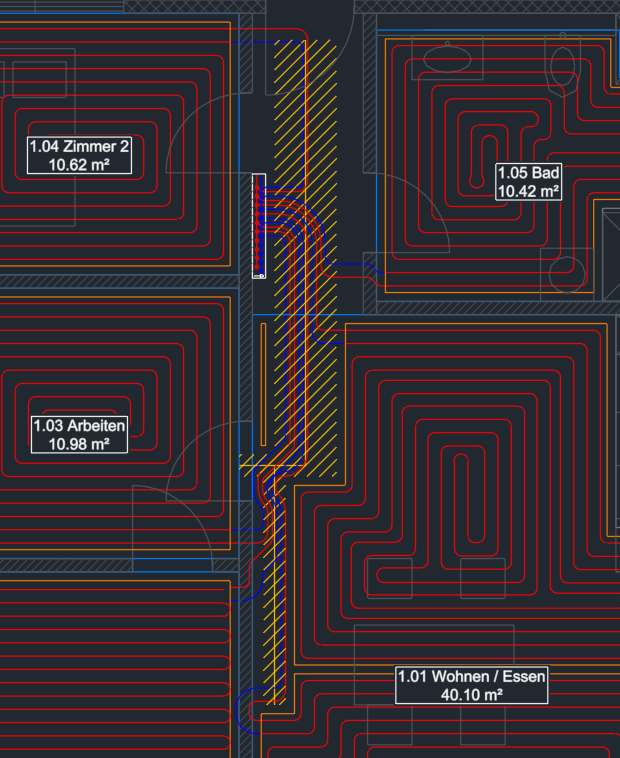
- All loops of a manifold: click the manifold; 2 of 3 = loops, 3 of 3 = corridors (preset).
- LuaCAD shows the solutions (bundle along the corridor, short routes); Enter accepts.
- Check (footer): crossings, loops and leaders outside their room are listed in the command line.
More: Connect all, By hand.
7. Cross and swap
If supply and return of a loop are the wrong way round at the connector, Cross at the end near the click (at the loop or in front of the manifold) - again at the same end removes it. Swap swaps the tracks of the two leaders, the loop stays. Both work on automatic leaders only. More: Cross and swap.
8. Annotation and list
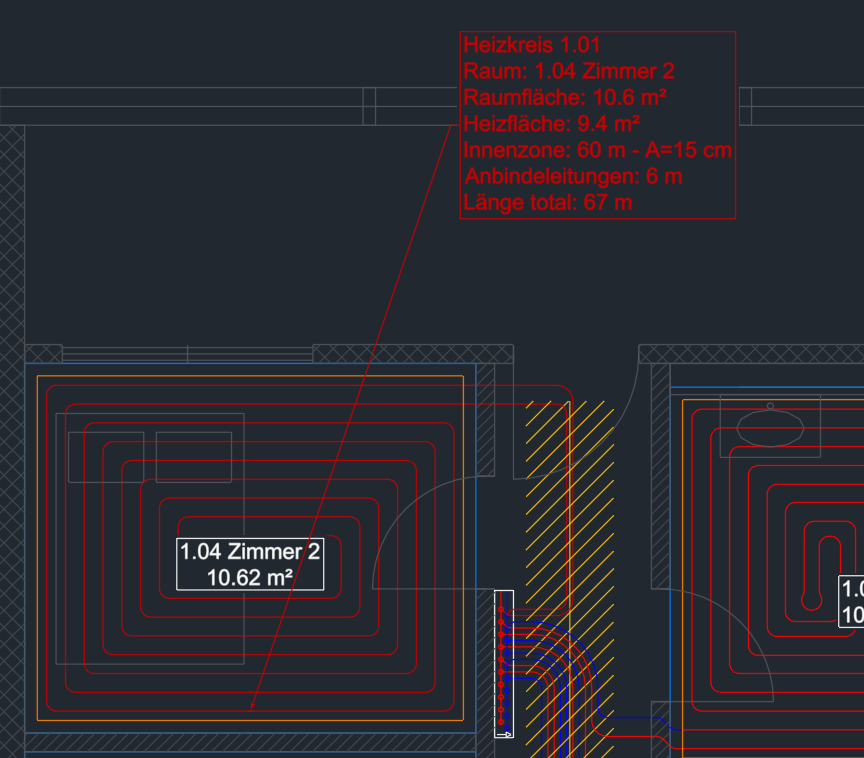
Page Output: Annotate with the loop template of Floor Heating, loop schedule and bill of materials (heating pipe with length and delivery in coils, manifold with outlets, edge insulation strip). Example: "loop 1.01, total length 63 m". More: Loop label, Bill of materials.