
Annotation step by step
The workflow
Goal: annotate the pipes of the Piping 3D example, set the look for a whole discipline and change an annotation.
- Choose the template
- Annotate one part
- Many at once
- Edit an annotation
- Attributes on the folder - for all templates below
- Reassign and check
1. Choose the template
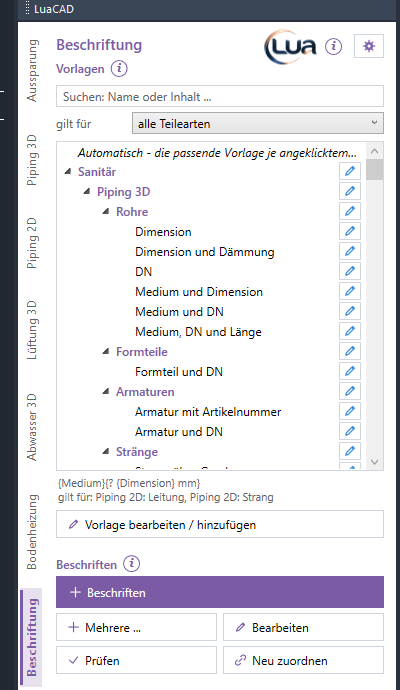
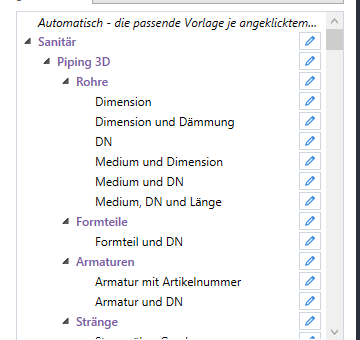
The templates are in folders: discipline > plug-in > part type. In the tree choose Plumbing > Piping 3D > Pipes and the template for system and DN. Automatic takes the matching template for each part. More: Choose a template.
2. Annotate one part
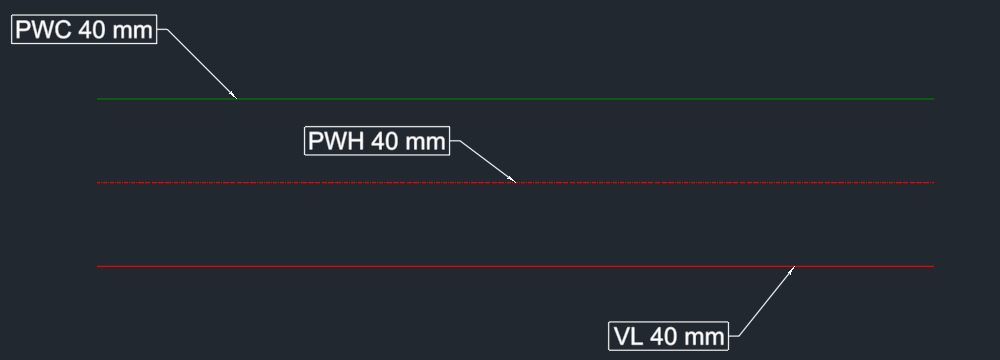
- Click Annotate, click the pipe - the arrowhead sits where you clicked.
- Place the text: landing and text follow the cursor; Enter or click.
3. Many at once
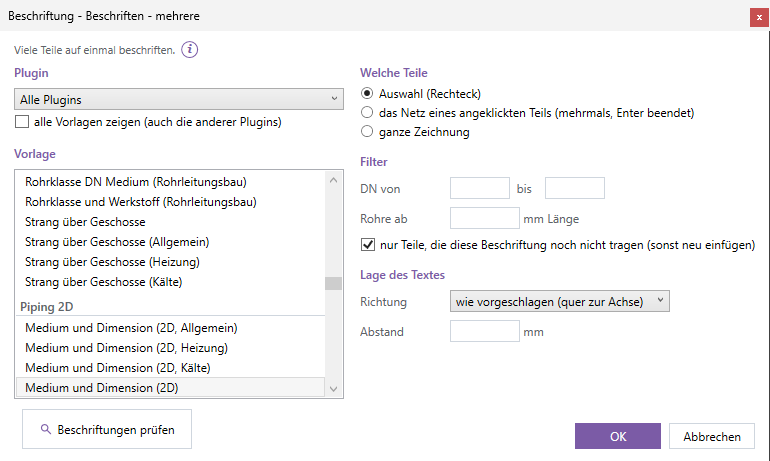
Multiple: choose plug-in and template, scope (drawing, selection), filter (part type pipe, length from 800 mm, system, DN). LuaCAD looks for a free place for every text. More: Multiple.
4. Edit an annotation
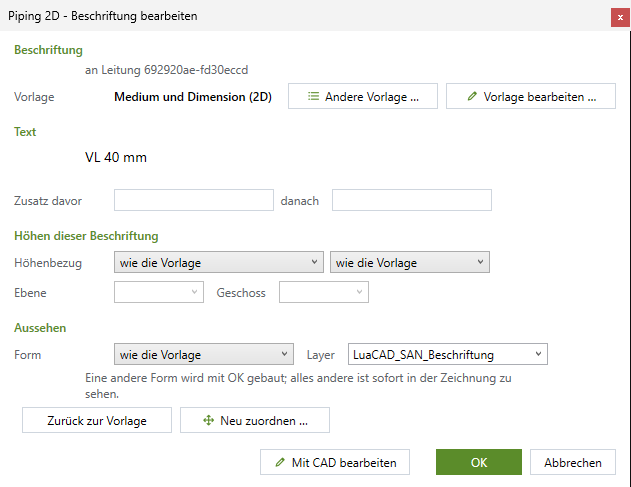
Double-click the annotation: another template, form (frame, without leader, circle), add text. Back to template takes the current state of the template. More: Edit.
5. Attributes on the folder - for all templates below
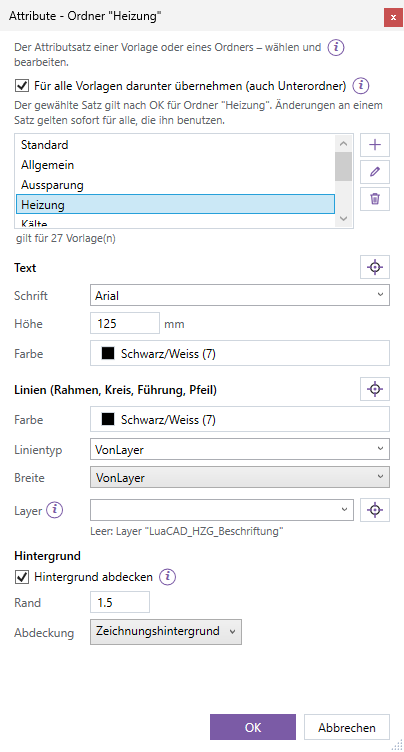
Font, height, layer and color of an annotation are in the annotation style. Set on the folder with the checkbox "Apply to all templates below", it applies to all templates of the folder and its subfolders - for example the whole Heating folder with Arial on the layer of the heating discipline. Placed annotations do not change, only new ones. More: On the folder.
6. Reassign and check
When parts are rebuilt (for example by Generate 3D), an annotation finds its part again by itself. If it finds none, it is "without reference": Reassign - click the annotation and the new part. Check names the annotations without reference. More: Reassign, Check.