
Block Library step by step
The workflow
Goal: insert the fixtures of a bathroom - lavatory, WC and shower at the wall or in-wall carrier, never in front of a door - and use them for the piping design afterwards.
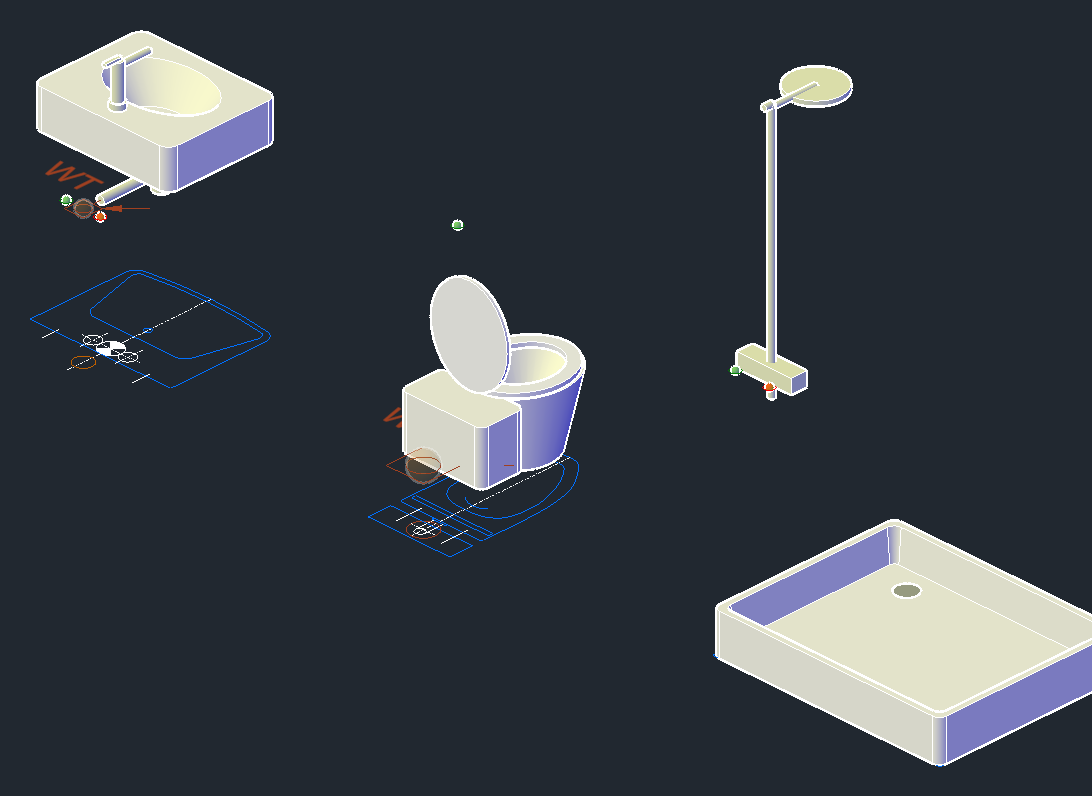
- Choose the fixture
- Insert it at the wall
- 2D or 3D
- The connector set
- Properties
- Custom blocks
- What is in the drawing - extract
1. Choose the fixture
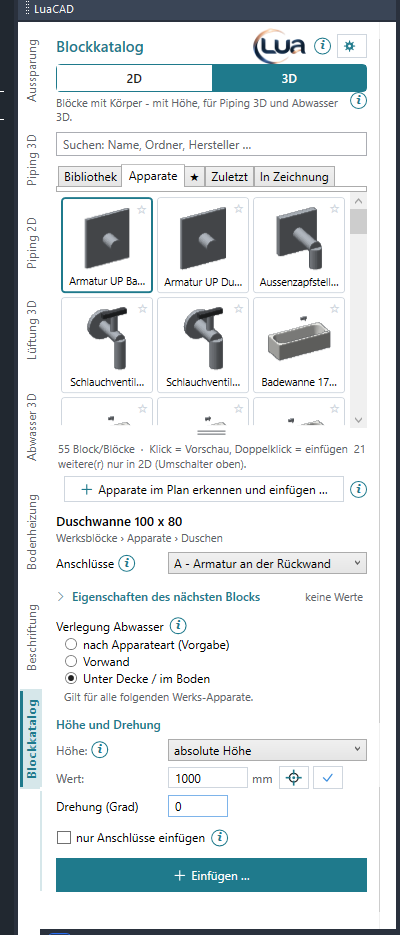
Page Fixtures, click the tile of the lavatory 60. Below are the selected fixture, height and rotation. More: Factory fixtures.
2. Insert it at the wall
- Insert: the fixture hangs at the cursor and aligns to the wall below the cursor.
- A: distance to a wall corner (for example 400 mm to the center), Space changes the base point.
- Click. Do the same for WC and shower - at the in-wall carrier or in the corner, never in front of the door.
More: At the wall, Insert.
3. 2D or 3D
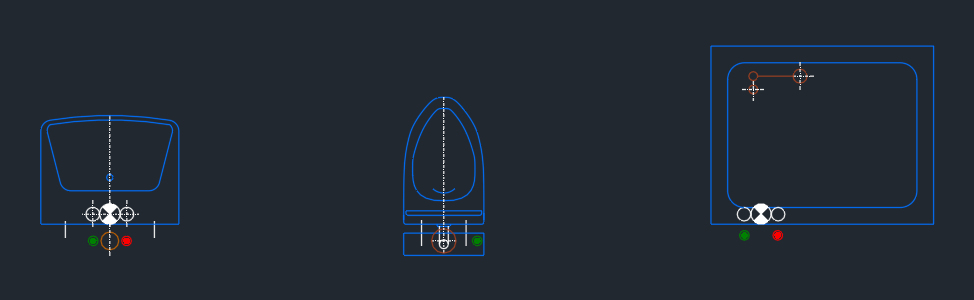
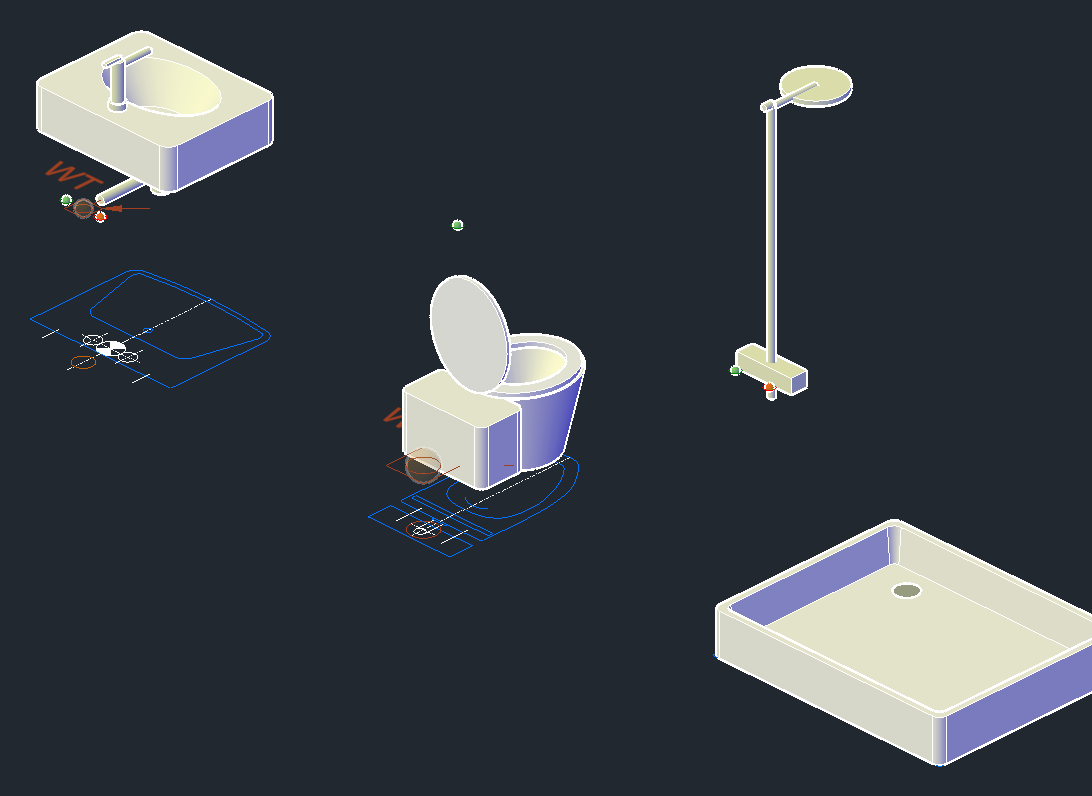
For the floor plan with Piping 2D set the switch to 2D, for 3D design with Piping 3D and Drainage 3D to 3D. With "connectors only" LuaCAD places only a marker and the connectors - for fixtures the architect has already drawn. More: 2D and 3D, Connectors only.
4. The connector set
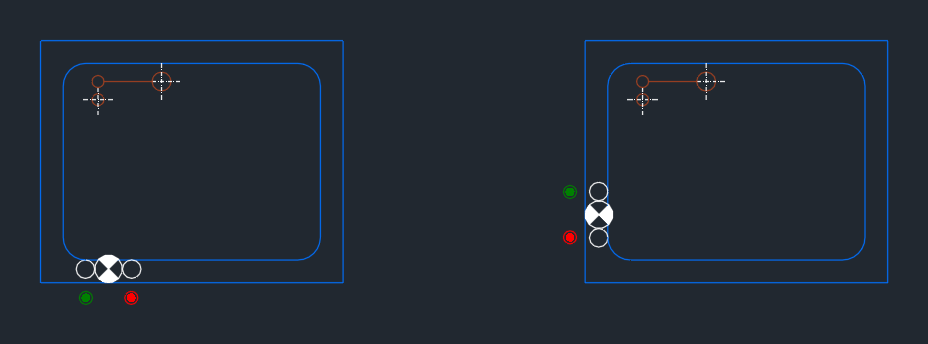
If a fixture has several connector sets, choose at the bottom of the palette under Connectors (A, B ...) - before inserting or afterwards in the Properties palette. Connected pipes follow. More: Connector set.
5. Properties
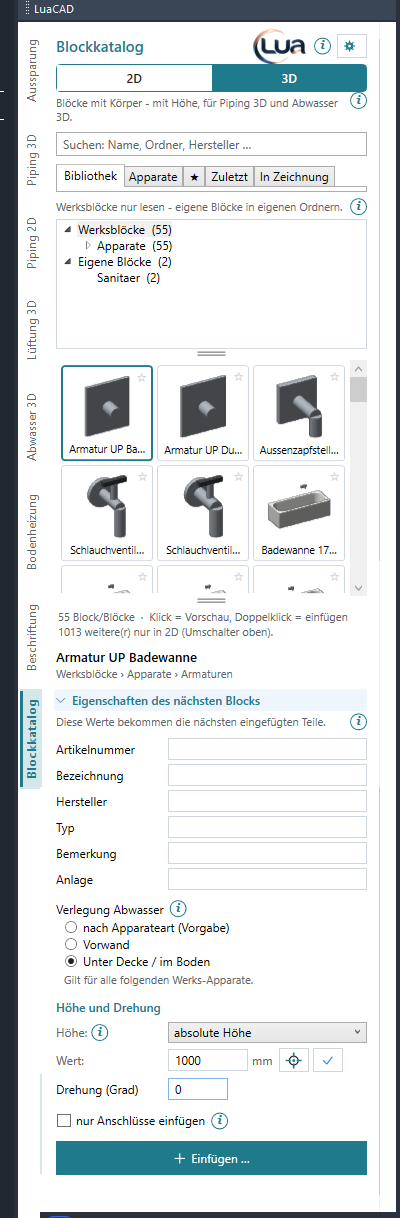
Enter fields such as room, remark or manufacturer before inserting in the expandable section; they are stored on every inserted block and appear in lists and IFC. More: Properties.
6. Custom blocks
Put your own DWG into a folder of the library (gear > folders), give it connectors and properties with the assistant - then it appears as a tile. Content, layers and colors of the DWG stay. More: Assistant.
7. What is in the drawing - extract
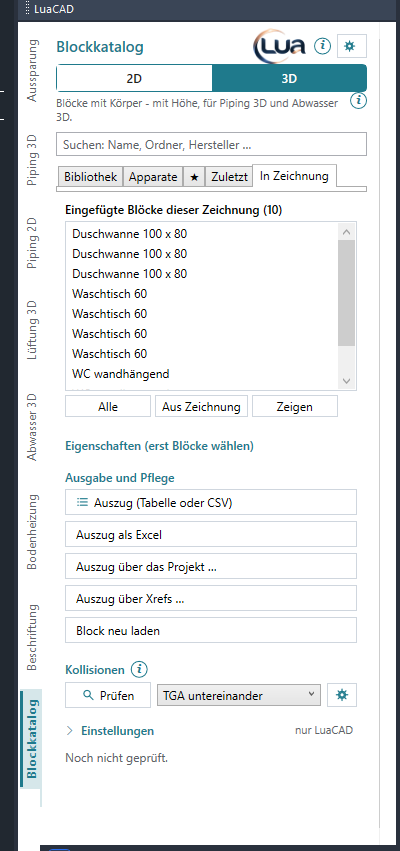
Page In drawing: all inserted blocks with count, change the properties of several together, extract as table, CSV or Excel - for example "lavatory 60, 3 pcs". More: List, Extract.