
Example 2 – A supply air network in the corridor
The workflow
Goal: a small supply air network from the empty plan to the list - the way you plan it in the corridor of an apartment: the main duct in the corridor, branches to the rooms, at the end a flexible duct to the plenum box. If you know Example 1, this one adds fittings by hand, duct accessories, flexible ducts and editing.
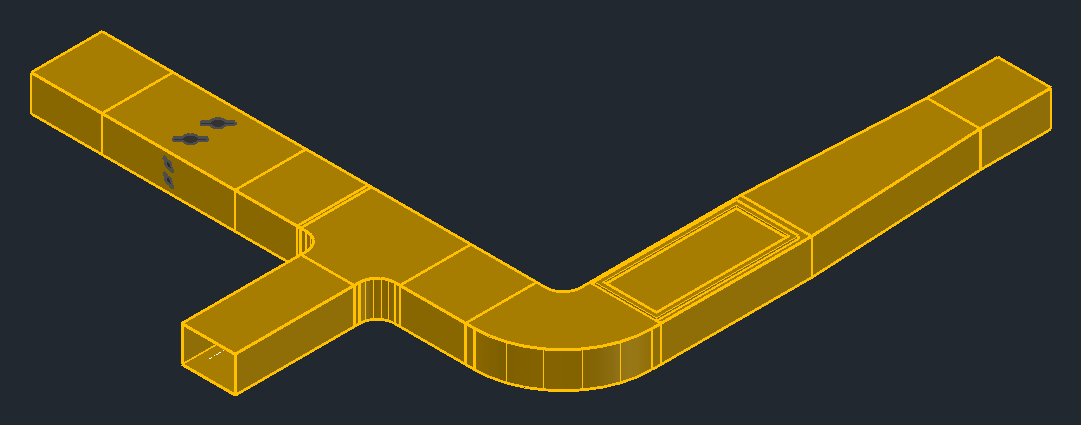
- Size the duct
- Draw the duct in the corridor
- Tee and reducer
- Insert a damper in-line, mount a grille
- Stub-in and flexible duct to the plenum box
- Edit: Move elevation, Move, grips
- Connect two ends
- Annotation, dimensions and list
1. Size the duct
First LuaCAD sizes the duct from airflow and velocity.
In the video: Duct sizer.
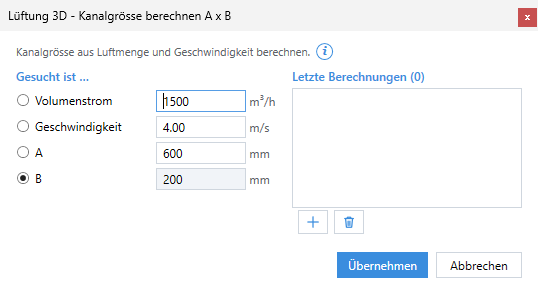
- Page Ducts > button next to A x B: Duct sizer.
- Find width A, airflow 900 m3/h, velocity 3 m/s, height B 200.
- LuaCAD calculates width A and shows the result with the velocity. Apply puts the size into the palette.
2. Draw the duct in the corridor
Now draw the duct along the corridor wall.
In the video: Inserting a duct and Elevation and wall offset during the run.

- Insert duct, click the start; enter height and distance to the corridor wall with A.
- Draw along the corridor, click at the corner - LuaCAD places the elbow itself -, continue to the end, Enter.
More details
Keys at the cursor
| Key | Effect |
|---|---|
| A | elevation and wall offset while drawing |
| ← / → / ↓ | draw along the left or right duct side, ↓ = centered again |
| Space | snap to angle / free |
More: Insert duct.
3. Tee and reducer
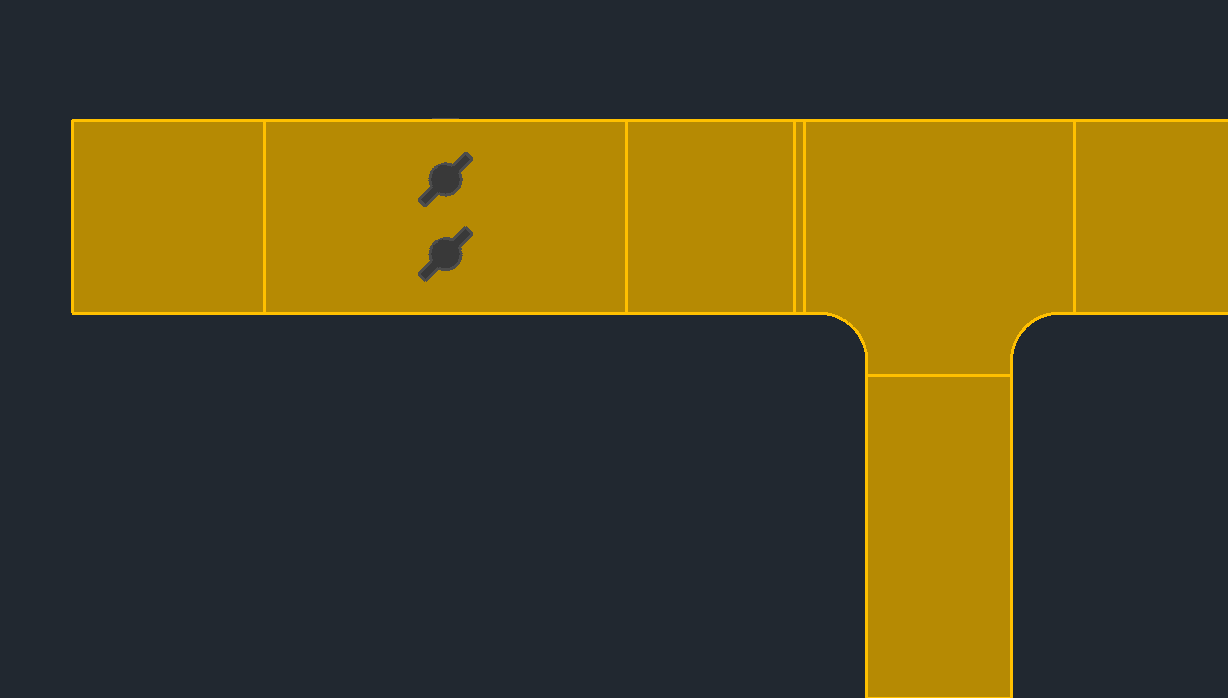
Page Ducts > fitting: choose tee, click the duct - it is inserted in-line and slides along; turn the branch toward the door of the room with R, click. Continue the branch with Insert duct from the free connector of the tee. For the reducer to 300 x 200: attach the reducer fitting to the free duct end. More: Fitting.
In the video: Inserting a fitting and The dimensions of a fitting.
4. Insert a damper in-line, mount a grille
A damper goes into the duct, a grille onto the duct.
In the video: Inserting a part in-line and Placing a grille.
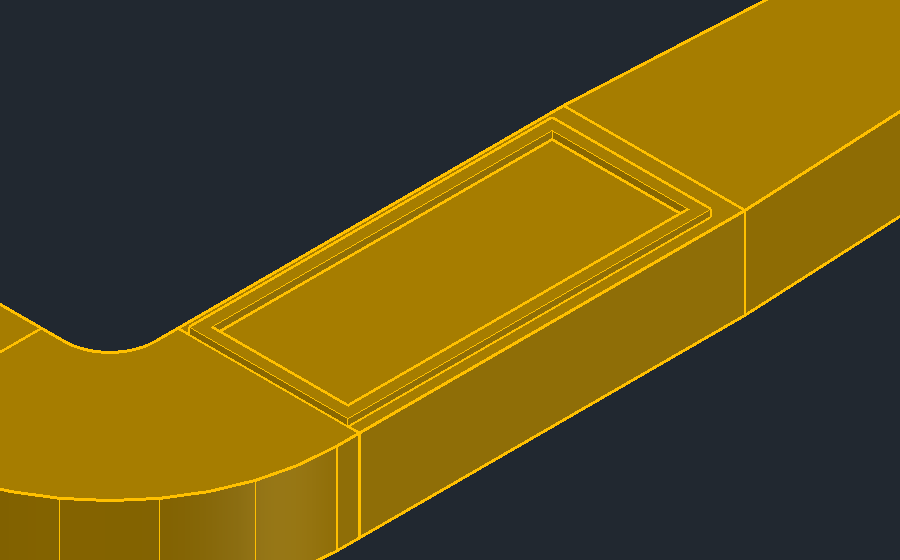
- Damper: page Duct accessories, choose the damper, click the duct - it is inserted into the whole straight duct section.
- Grille: a surface-mounted part - first select the duct, then slide along; the duct runs through below, LuaCAD cuts the opening itself.
More: Insert in-line, Surface-mounted.
5. Stub-in and flexible duct to the plenum box
A flexible duct runs from the stub-in on the duct to the plenum box.
In the video: Inserting a flexible duct.
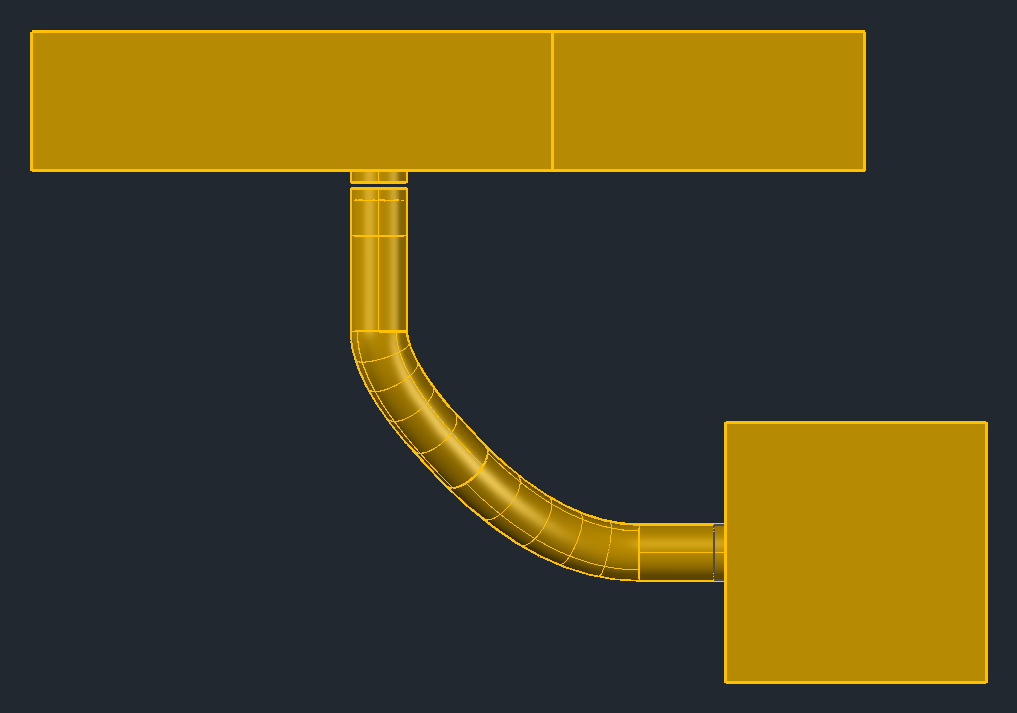
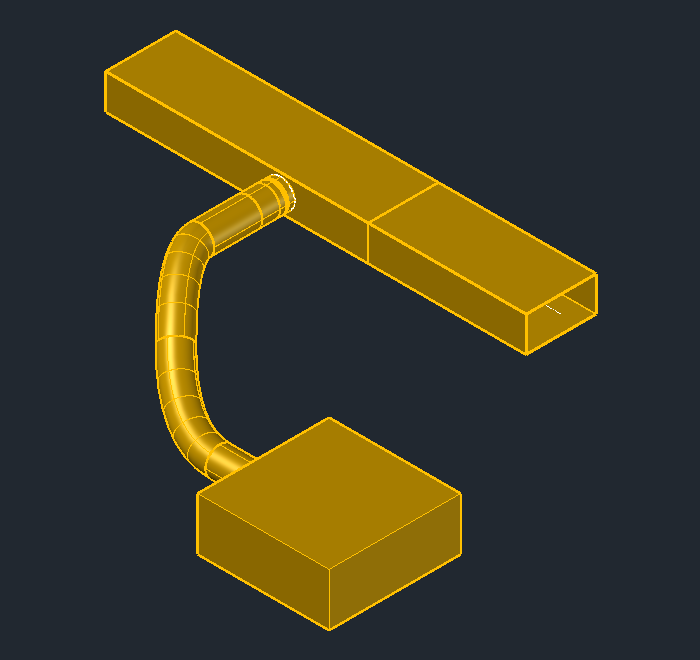
- Page Equipment: insert the plenum box (height from the ceiling).
- Round ducts page › Fitting › Takeoff (Ø 160): place it on the side of the duct – LuaCAD cuts the opening into the duct.
- Flexible ducts page, Insert: click the open connector of the takeoff – the flexible duct connects and takes over diameter and system. Click over vertices to the connector of the box; it connects there because the diameter is the same (Ø 160).
More: Flexible duct.
6. Edit: Move elevation, Move, grips
Here you edit the network: Move elevation, Move and grips.
In the video: Moving, Moving the elevation, Editing with grips and Changing properties.
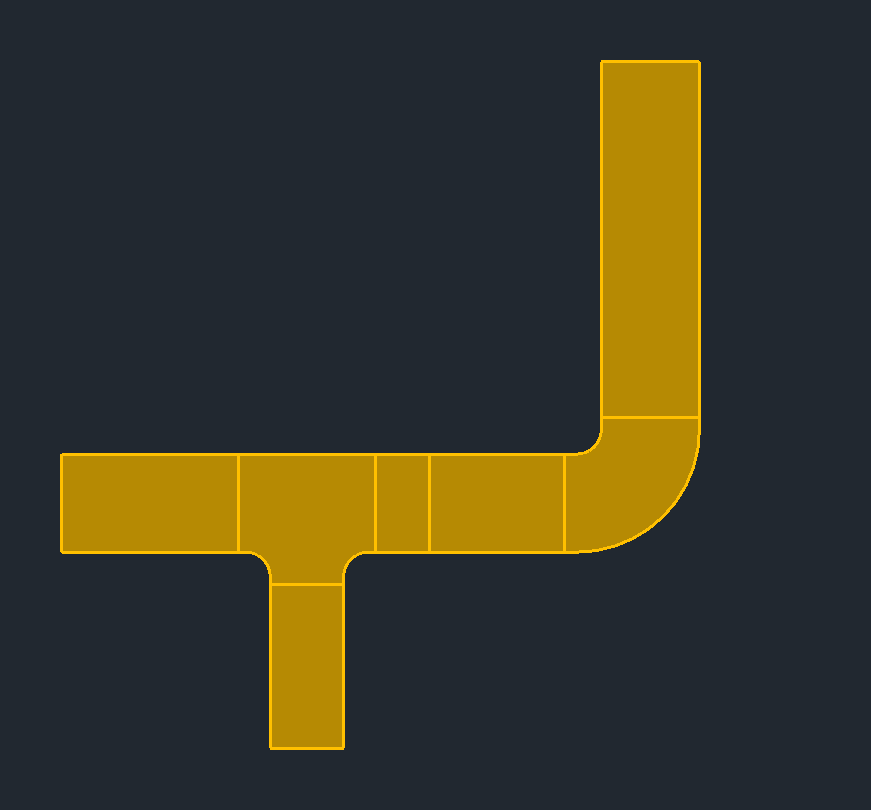
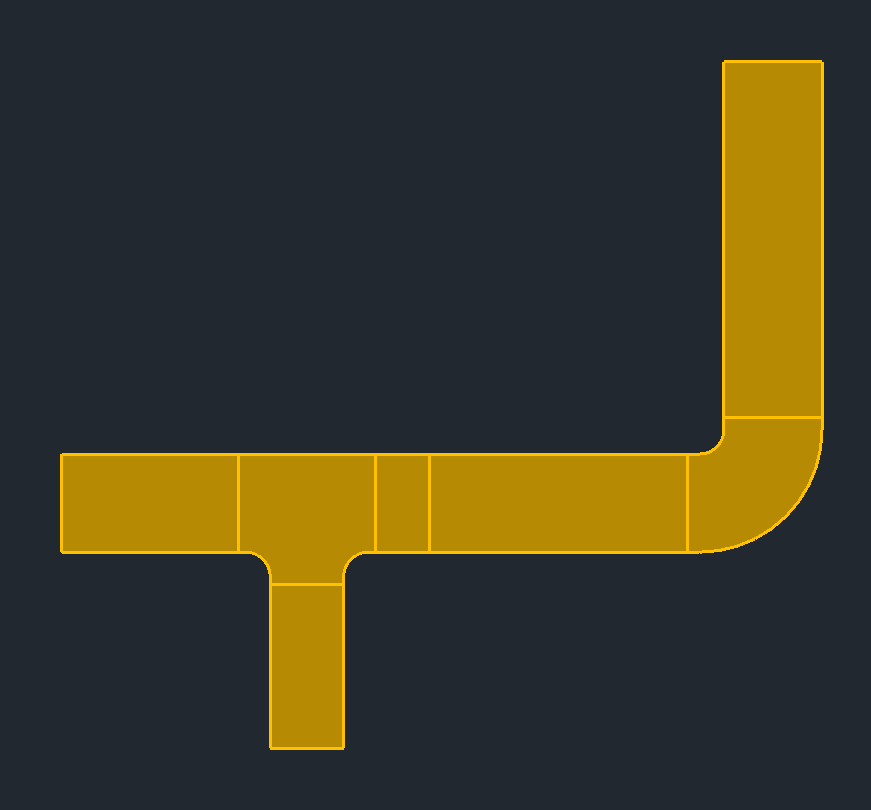
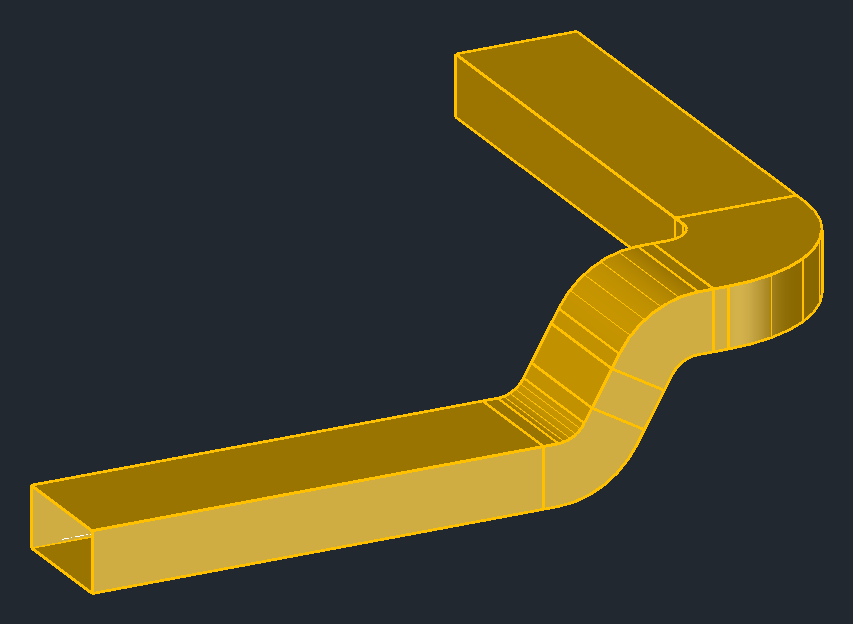
- Move (page Ducts): select a duct section and move it sideways - the neighbors become longer or shorter.
- Move elevation: like Move, but in height; enter the height from the reference level with A. Up to the duct height LuaCAD places an offset, above that offset elbows with the steepest matching standard angle.
- Grips: a straight duct section has grips at the start, in the middle and at the end, an elbow or tee one grip at the node.
- Change properties: select parts, change profile, size and system in the dialog.
More: Move, Move elevation, Grips, Change properties.
7. Connect two ends
Page Ducts > Connect: click the first free duct end, then the second (or a duct along its run). LuaCAD shows the solutions in color - with elbows, offsets or offset elbows; Tab pages through, Enter accepts. If the route ends on a duct, LuaCAD places a tee. More: Connect.
In the video: Connecting two connectors.
8. Annotation, dimensions and list
Finally, annotate and dimension the ducts and output the list.
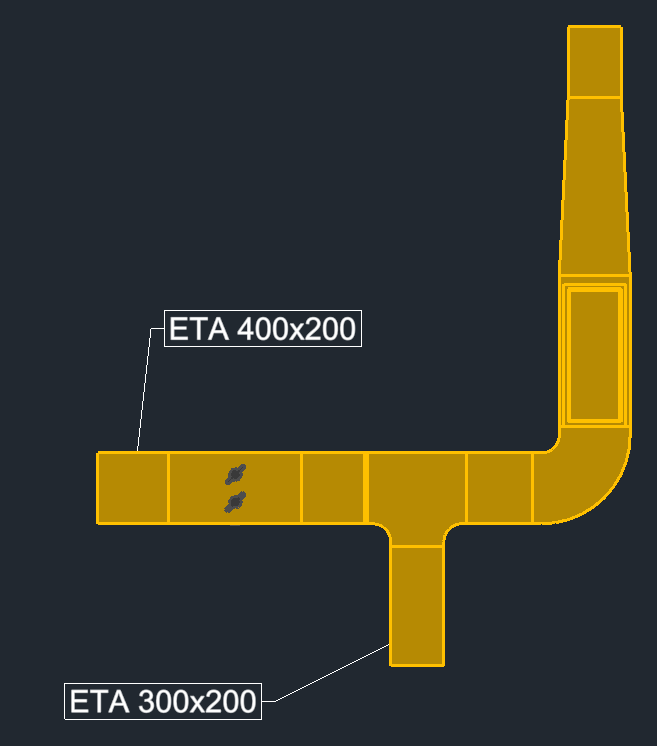
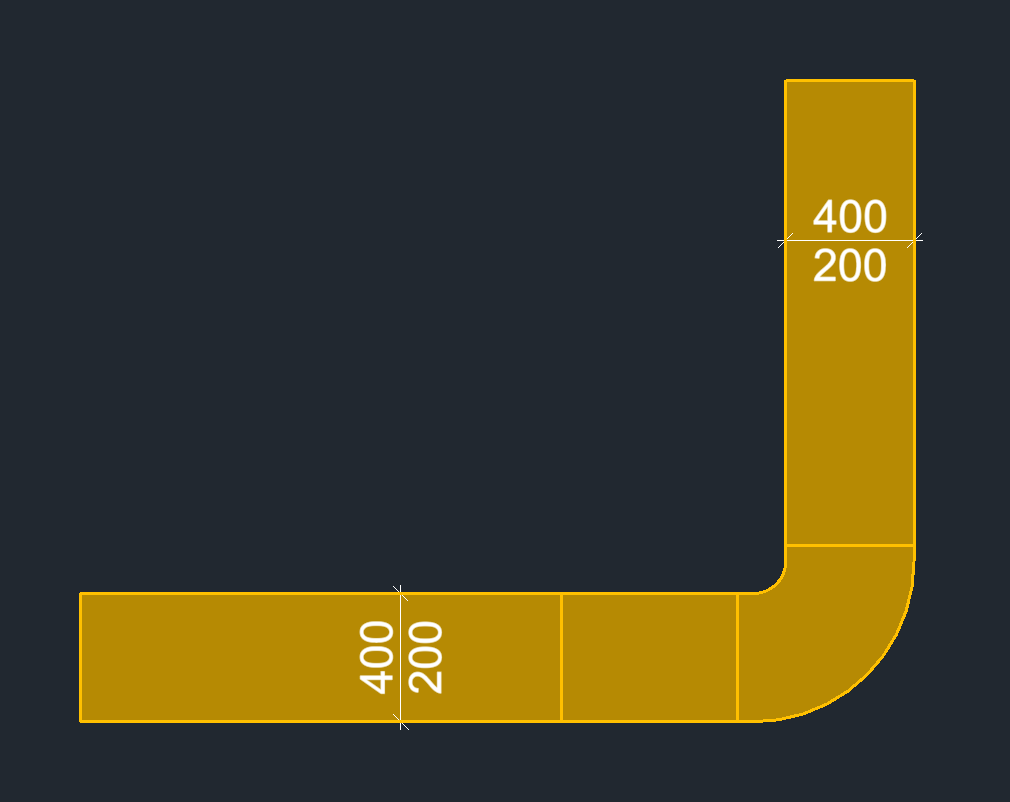
Page Output: Annotate with a template from the folder Ventilation > Ducts, dimension across the duct, bill of materials (ducts and fittings as prefabricated parts with count, area and weight) or the order list for the duct maker. More: Annotate, Bill of materials.